How To Style Blogs/CMS Data Auto-Magically with Tailwind CSS 🤩
Today we’re going to look at a Tailwind component that only “Prose” know about! 😂

Tech Guru 💻 New Web Dev | Sys/Dev Ops Manager 🚀 | Teacher of all things Tech! (http://Layer6training.com - Coming Soon! 🔥)
Introduction:
Today we’re going to look at a Tailwind component that only “Prose” know about! 😂 Sorry I had to get that joke out of the way!
If you're like me and have been using Tailwind CSS for a while, even a very long time, you may still not have come across this amazing feature of the tool! I am speaking about the Typography Component and more specifically the set of “Prose” class elements. This collection of styling was built for large sets of HTML you may not be able to control. Maybe you’ve set up your website's blog using raw markdown text, or you're pulling in large amounts of text content from a CMS.
Either way, the “Prose” classes are here to help! 👌
Sample Project:
Naturally, we will need an example so let's get a Tailwind based project going ⬇️
We’re going to use the Tailwind CSS Play tool. This will get us up and going fast and make sure you’re environment is identical to mine.
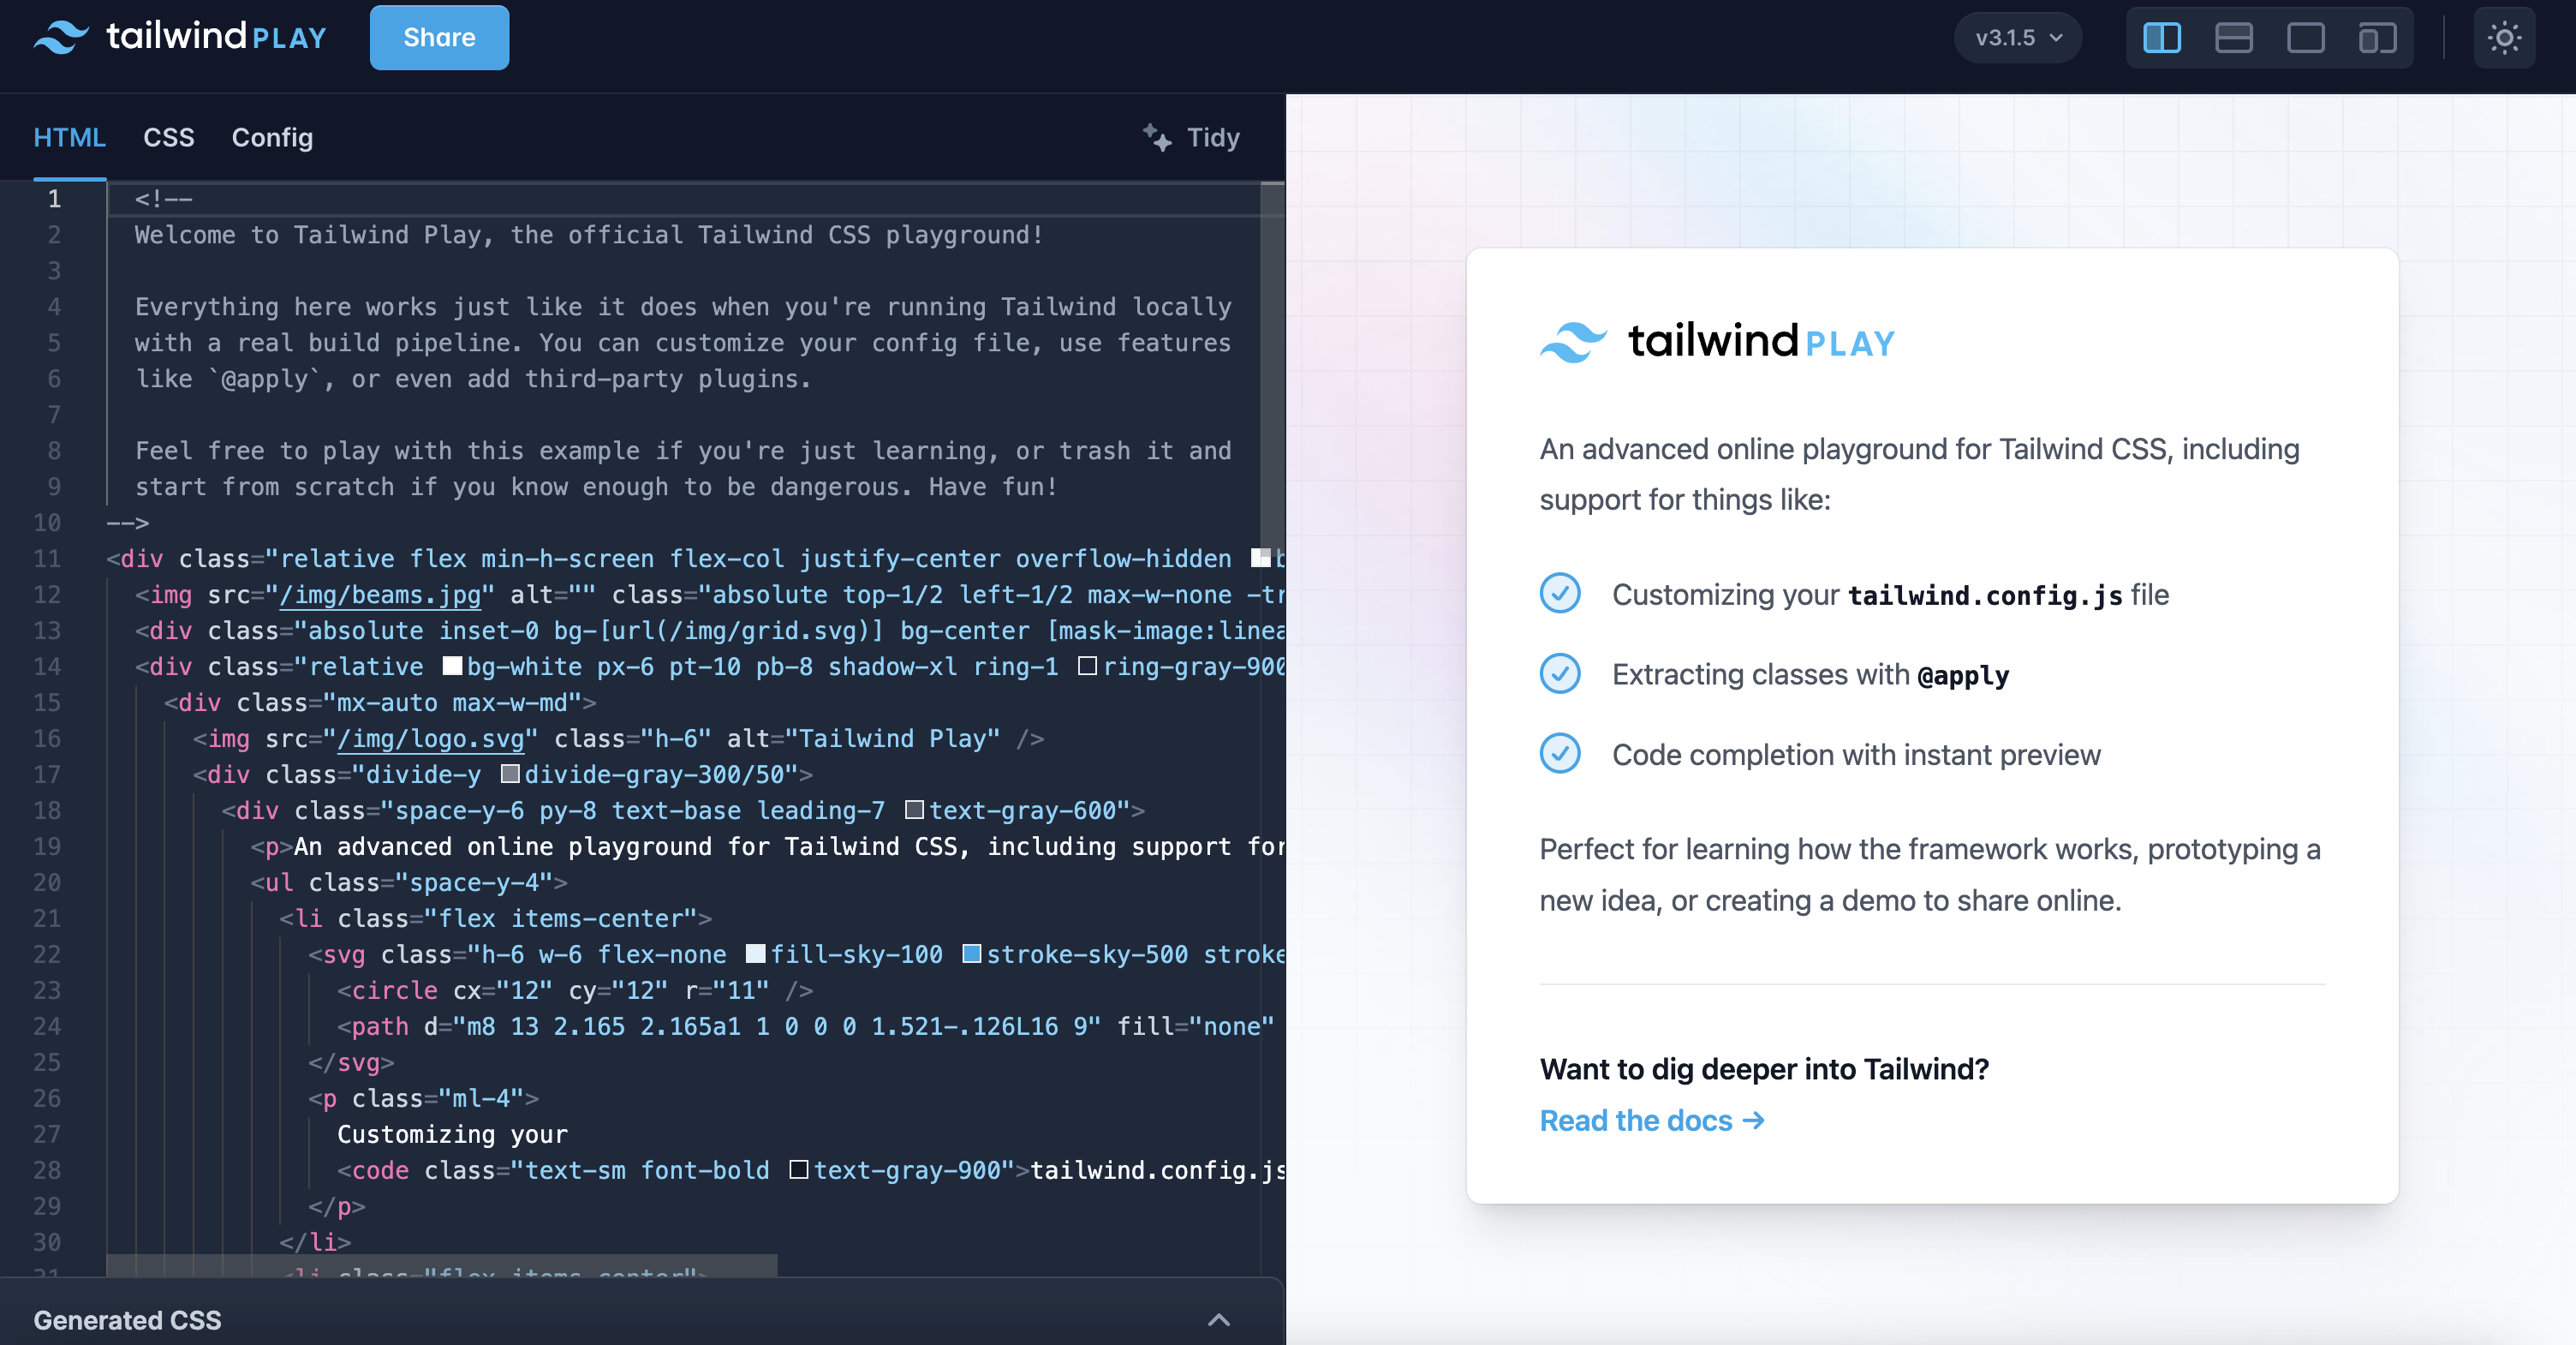
We will replace the default code with the snippet below. This is unformatted HTML from my latest blog post:
<div class="relative flex min-h-screen flex-col justify-center overflow-hidden bg-gray-50 py-6 sm:py-12">

<article class="">

<h1>5 Web Dev Platforms, Tools & Frameworks To Learn In 2022 🔥</h2>

<img src="https://blog.layer6training.com/_next/image?url=https%3A%2F%2Fcdn.hashnode.com%2Fres%2Fhashnode%2Fimage%2Funsplash%2FSyYmXSDnJ54%2Fupload%2Fv1659720841329%2Fss-CHaLc9d.jpeg%3Fw%3D1600%26h%3D840%26fit%3Dcrop%26crop%3Dentropy%26auto%3Dcompress%2Cformat%26format%3Dwebp&w=3840&q=75" alt="">

<h2>1. React/NextJS ⚡️</h2>

<p>Like it or lump it, Javascript frameworks have continued to take over in all aspects of web development from Web3 to traditional web apps. React and frameworks based on it have exploded in 2022 taking over from some of the other major players in the field.</p>

<p>As the tide of React rises, so do the others that are based on its component framework. This includes NextJS, a 2016 open source React-component-based framework that was created by the team at Vercel. Since its creation in 2016 the team has added a bunch of cutting-edge features geared towards edge hosting platforms like its own. In addition to NextJS's cloud edge focus, many consider the framework as a backend framework due to its many server-side features.</p>

<img src="https://nextjs.org/_next/image?url=%2Fstatic%2Fblog%2Flayouts-rfc%2Fpage.png&w=3840&q=75" alt="">

<p>NextJS is the framework I personally have chosen for all my projects. You can read more about it here: NextJS</p>

</article>

</div>
It should look like this:
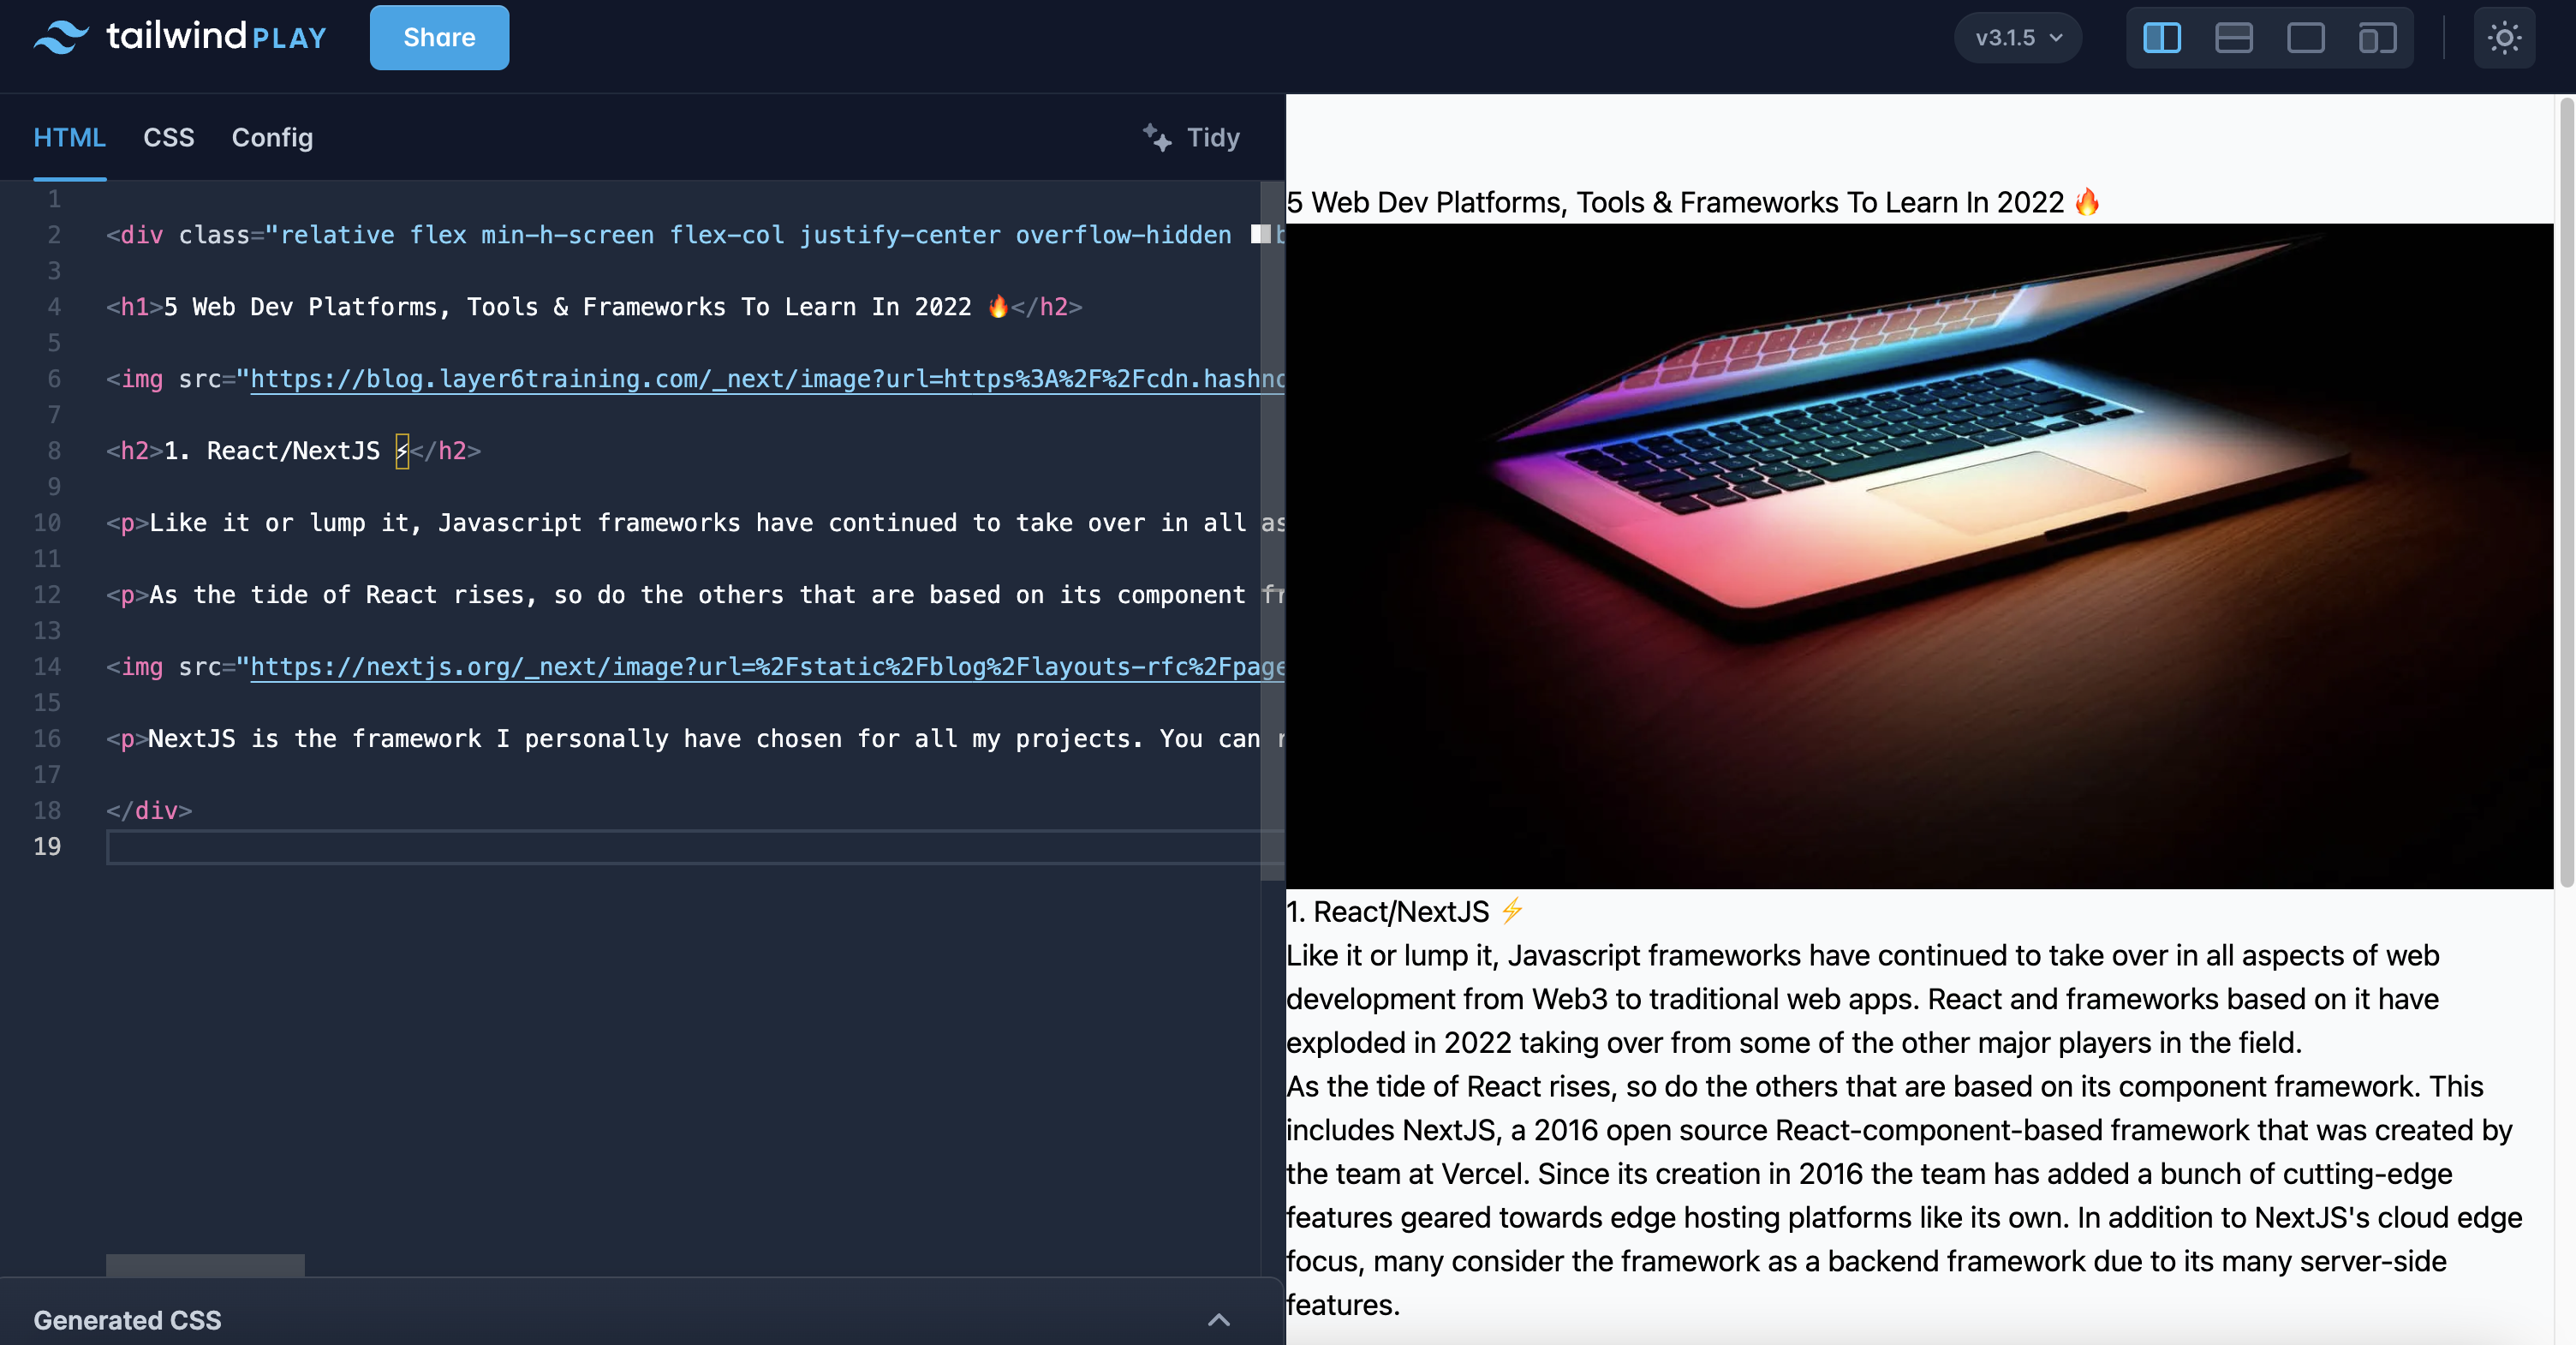
Not great right? Which were not surprised. And of course, we could just add styles like normal to each HTML element. But let's say you have a large amount of text, either from a CMS or just generally have a lot of static text content on your site. It could be very time-consuming to style by hand. This is normally one of the largest complaints hard-core CSS users have about Tailwind CSS. Not worry the Typography component is on the way!
So let's implement this.
We're going to need to add one small piece of code to our Tailwind config file. This would be the third tab along the top in our code session labeled "Config".
Add the below “require” line to the config tab in TailwindCSS Play:
module.exports = {
  theme: {
    extend: {
      // ...
    },
  },
  plugins: [
    require('@tailwindcss/typography'),
  ],
}
Now we’re ready to go!
Up in the “Article” tag, we have an empty “class” element. Within the open quotes place the “prose” class.
<article class="prose">
and with this one class attribute added you can see we’ve gone from bland to wow! 🤩
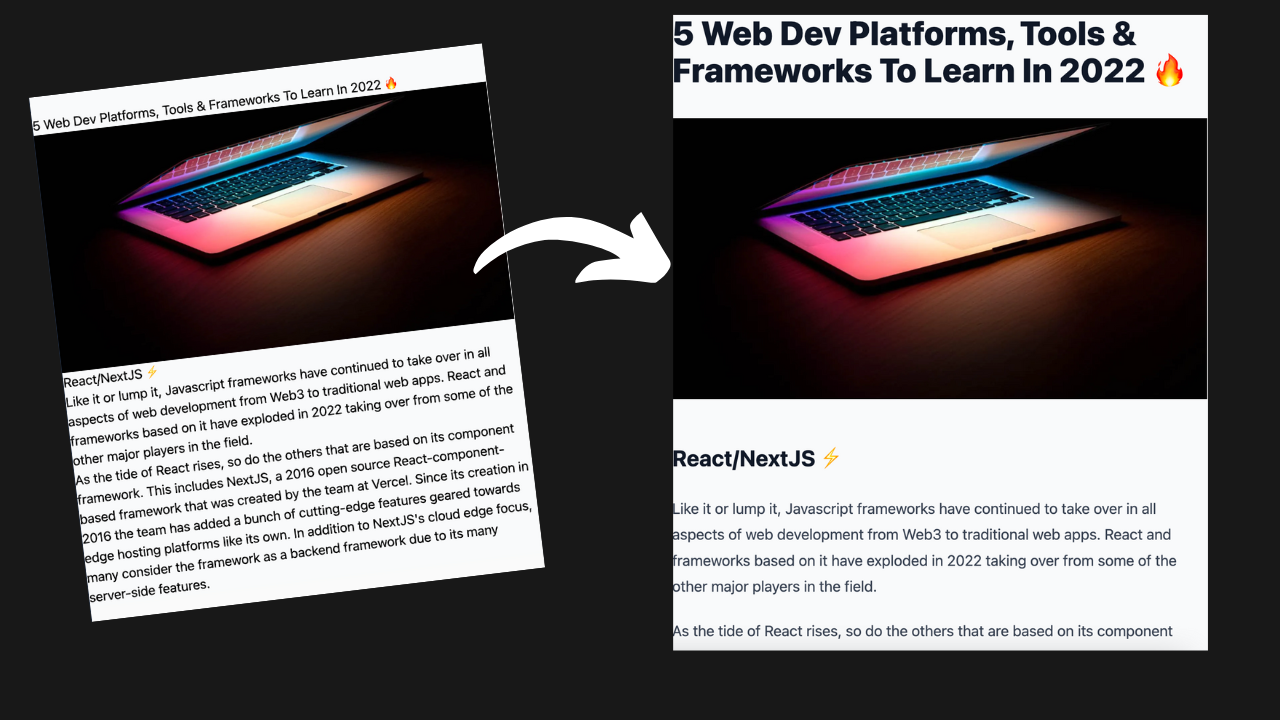
I know I’m really hyping up simple text styles, and that we still have further to go, but this one-step feature can be a game changer for some.
What is happening Behind The Scenes?
So if you’re curious about what is happening here the creators of Tailwind CSS have worked very hard to create this prose style that takes into account the most optimal styling context for these types of text tags. Almost giving you a “one=click” blog styling option.
We can take this a step further and this is where the real power comes in!
So let's say we like how this is looking but would like to style our images differently. Again, instead of going through our file and adding styling to anything with an "img" tag, or by creating a custom reusable CSS class, we can simply use the prose class syntax to style all "img" tags the same way.
For example:
let's say we wanted a slight rounding effect, we would add the following class:
prose-img:rounded-lg
Now our image and any others using the "img" tag will inherit this styling:

We can also target other HTML tags using this method, like our H1 heading. I think for this blog post I would like it to be centered.
prose-h1:text-center
But let's say we want to style all our headings in our brand colors. Instead of adding a class for h1, h2, h3, etc, we can use a general class attribute called “headings”. This will apply a color to all of the heading types:
prose-headings:text-indigo-600
Let's check in where we're at:
<article class="prose prose-img:rounded-lg prose-h1:text-center prose-headings:text-indigo-600 p-6">

and now you can see with about 6-7 Tailwind CSS classes and one line of code we are able to style an unlimited amount of text/content.
Now just to cover the inverse situation. You may come across the scenario where you don't want to inherit the "prose" styling for whatever reason. This is also handled easily as well.
Simply use the "not-prose" class and add your styling as normal to that element!
class="not-prose"
And that's it! 👌 Now of course there is much more under the hood with this plugin and I encourage you to check out the official Tailwind CSS Docs.
If you enjoyed or learned something from this post please give it a like and consider following me for more! 🙏