How To Install TailwindCSS In Your NextJS Project ⚡️
The Fastest Way To Get Going With NextJS + TailwindCSS ⚡️

Tech Guru 💻 New Web Dev | Sys/Dev Ops Manager 🚀 | Teacher of all things Tech! (http://Layer6training.com - Coming Soon! 🔥)
Introduction
In this post, you will learn how to set up your NextJS project to use TailwindCSS as your styling utility.
Requirements
Before we get going your going to need two things:
- Node JS installed on your machine. I always recommend the LTS (v16) as it has the widest amount of support and will cause you the least amount of headaches when following guides like these.
- An IDE, I use VS Code
With that out of the way, lets get going!
We have two options when it comes to making a NextJS project with Tailwinds.
Option 1 (Fastest ⚡️)
One of the really nice things I've found with NextJS is they have a very nice library of "Examples" as they call them, which are essentially just a bunch of ready-to-go templates for various starting points with a project.
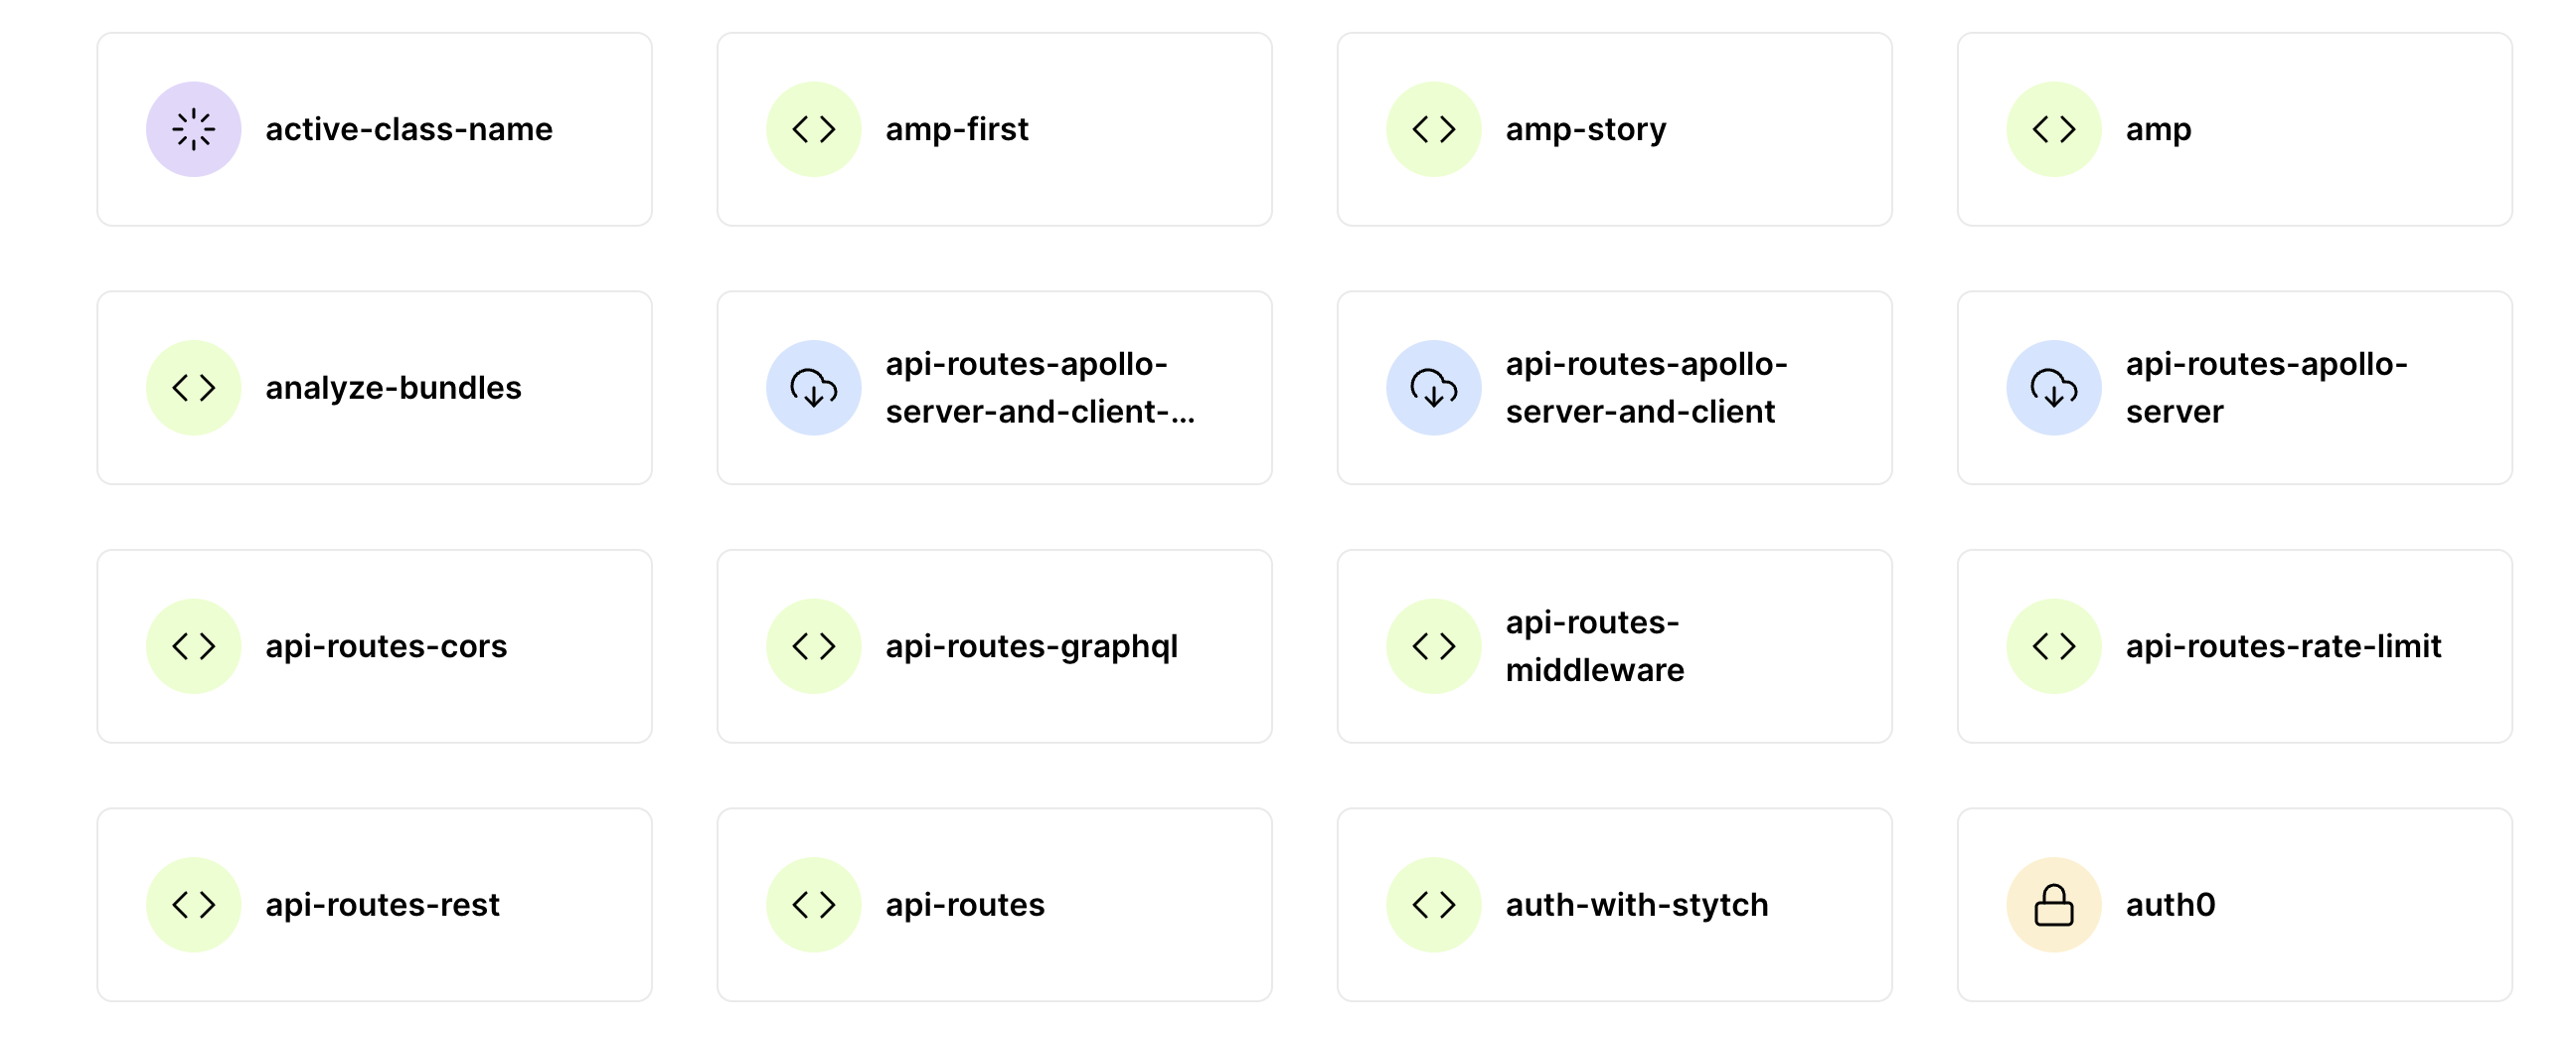
And in this case, they have a NextJS-with-TailwindCSS Example.
To install this example it couldn't be simpler! Run the below command in a terminal window in the file location you would like to start your new project:
npx create-next-app --example with-tailwindcss my-app
Or for yarn users:
yarn create next-app --example with-tailwindcss my-app
And then that's it! 🎉
we can now run:
cd my-app
npm run dev
or
yarn dev
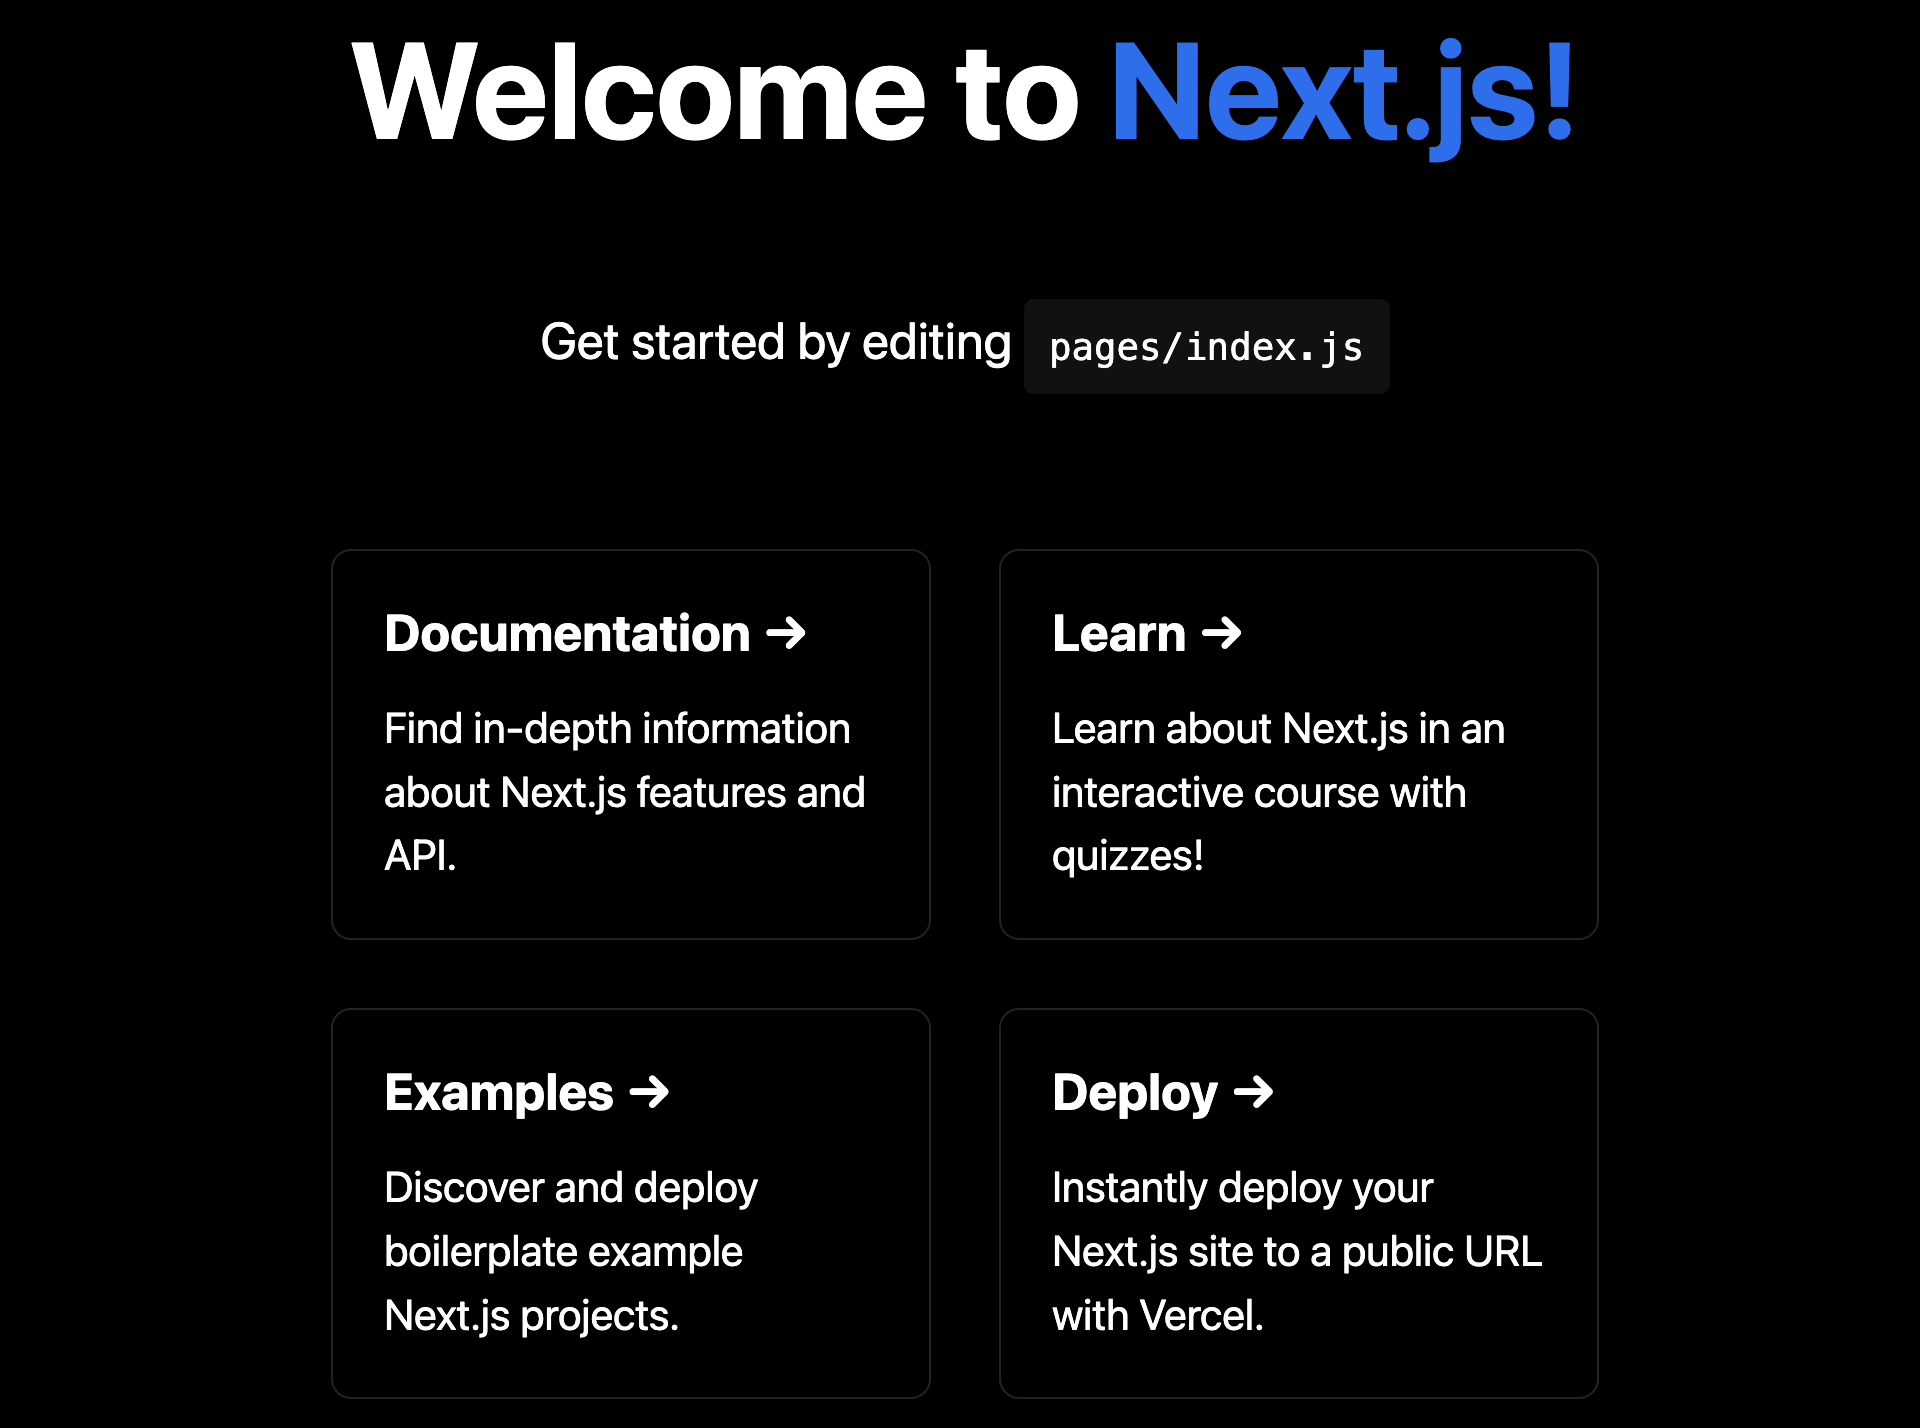
and you should see the NextJS boilerplate site page in your browser
Too simple right? 🧐
Options 2 🛠
Option 2 starts the same way but we will use the base Create-NextJS command.
In your terminal run this:
npx create-next-app my-app
Next cd into the my-app folder:
cd my-app
We are going to run a few Tailwind specific commands.
The first is:
npm install -D tailwindcss postcss autoprefixer
This will install tailwindcss as a dev dependency in your "package.json" file. As well, also install postcss and autoprefixer which are core elements of how tailwindcss operates.
Next, we are going to create the tailwinds config file by running this command:
npx tailwindcss init -p
Now inside this newly created file "tailwind.config.js" we will insert a content array with all the file types in our project. Ensure to add any file types or routes that are specific to your project in order to use tailwindcss in them:
/** @type {import('tailwindcss').Config} */
module.exports = {
  content: [
    "./pages/**/*.{js,ts,jsx,tsx}",
    "./components/**/*.{js,ts,jsx,tsx}",
  ],
  theme: {
    extend: {},
  },
  plugins: [],
}
Next, we will change the contents of the "./styles/css/global.css" file. You can delete all the contents of this file and replace it with the below code:
@tailwind base;
@tailwind components;
@tailwind utilities;
Final step is to start our dev server:
npm run dev
or
yarn dev
and then make a new element in our "index.js" file to test if tailwindcss is working (again you can delete all the boilerplate code). In this case, I made an H1 tag with a few tailwindcss classes to test.
export default function Home() {
  return (
    <h1 className="text-3xl font-bold underline">
      Hello world!
    </h1>
  )
}
If your H1 heading shows up as larger bolded text with an underline then congrats! 🎉 Tailwindcss is working!

Now after seeing how easy it was to get Option 1 up and going you might be wondering why you would do it any other way?? Especially, if you're coming from using TailwindCSS with another framework, you know how involved the setup process can be.
Option 2 may be required if your working in a team and you need to scaffold your project from the ground up to adhere to strict environment/variable settings your team has set. Or, you are using another NextJS example, like Auth0, so you are already using the quick start function.
Either way, getting TailwindCSS going is fairly straightforward. If you have any issues getting going, you can refer to the official TailwindCSS Docs
If you enjoyed or learned something from this post please give it a like and consider following me for more! 🙏